
Historic Plaster Repair
Explore Our Services
Start with an assessment
Serving historic properties in Pensacola and Mobile’s historic districts.
Close-Out Deliverables
A written close-out: what we found, what we used, photos from start to finish, and a record you can put in an ARB or MHDC file.
- Written condition report
- Material data sheets
- In-progress photographs
- Completion photographs
- ARB sample / material documentation (when the board requires it)
- Lime care card
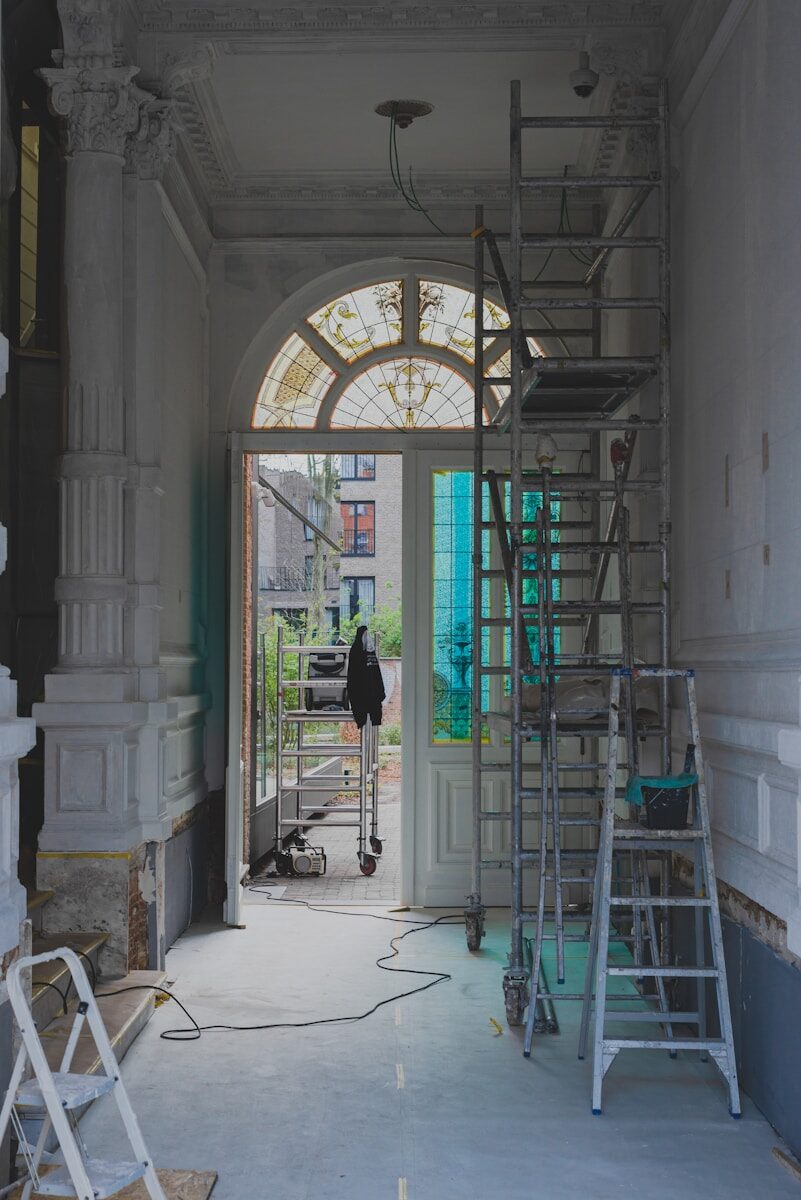
Historic Plaster Repair
Patch repair and lime re-plastering for historic walls, matched to the original mix, in Pensacola and Mobile historic districts.
Our Process
Historic lime plaster patch work needs care at every stage - reading the original material, matching the mix, preparing the edge, and finishing so the repair reads with the wall.
Step - 01
Assessment
Check that it’s true lime, note the sand’s size and color, and work toward a traditional lime-to-sand ratio. Skip hard Portland cement mixes that trap moisture and hurt soft historic walls.
Step - 02
Match Color & Texture
Mix small samples, apply them to scrap, and let them dry fully — lime lightens as it cures. Adjust with sands and lime, not heavy synthetic dye.
Step - 03
Prepare Area
Cut clean edges (no thin feathered rims), and dampen the old wall so it doesn’t pull the moisture out of the new mix too fast.
Step - 04
Apply & Finish
Apply in thin coats, texture the surface to read with the weathered plaster around it, and allow for a new patch looking a bit brighter until weathering settles the tones.